**✨ Performant, customizable web apps in pure Python. Deploy in seconds.**
📑 [Docs](https://pynecone.io/docs/getting-started/introduction) 📱 [Component Library](https://pynecone.io/docs/library) 🖼️ [Gallery](https://pynecone.io/docs/gallery) 🛸 [Deployment](https://pynecone.io/docs/hosting/deploy)
[](https://badge.fury.io/py/pynecone)


[](https://discord.gg/T5WSbC2YtQ)
## 📦 1. Install
Pynecone requires the following to get started:
- Python 3.7+
- [Node.js 16.8.0+](https://nodejs.org/en/) (Don't worry, you won’t have to write any JavaScript!)
```
pip install pynecone
```
## 🥳 2. Create your first app
Installing Pynecone also installs the `pc` command line tool. Test that the install was successful by creating a new project.
Replace my_app_name with your project name:
```
mkdir my_app_name
cd my_app_name
pc init
```
When you run this command for the first time, we will download and install [bun](https://bun.sh/) automatically.
This command initializes a template app in your new directory.
## 🏃 3. Run
You can run this app in development mode:
```
pc run
```
You should see your app running at http://localhost:3000.
Now you can modify the source code in `my_app_name/my_app_name.py`. Pynecone has fast refreshes so you can see your changes instantly when you save your code.
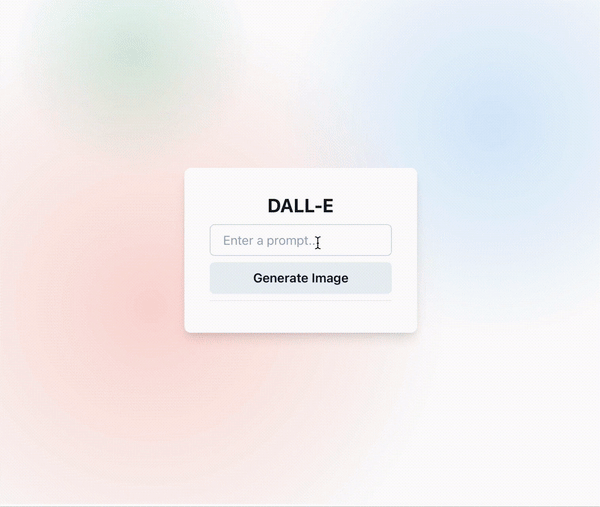
## 🫧 Example
Let's go over an example: creating an image generation UI around DALL·E. For simplicity, we just call the OpenAI API, but you could replace this with an ML model run locally.